
To clean your mechanical pond filter media safely, switch off the pump and UV unit, remove the pads, sponges or brushes, and gently rinse out sludge with pond water or dechlorinated water before reassembling the filter. If your media also houses beneficial bacteria, keep it wet and avoid aggressive scrubbing.
Your goal is to restore water flow while keeping the material intact. Brown staining alone does not mean your sponge needs more washing; packed debris and blocked pores deserve your attention. When you clean pond filter media, identifying its mechanical and biological roles helps you choose the right rinse.
What Is the Safest Way to Rinse Pads, Sponges, and Brushes?
Use gentle rinsing and controlled squeezing to release trapped waste, keeping any bacteria-supporting media wet throughout the job. Prepare your rinse water and a clean bucket before opening the filter so you keep the interruption brief.
Switch Off the Pump and UV Unit Before Opening the Filter
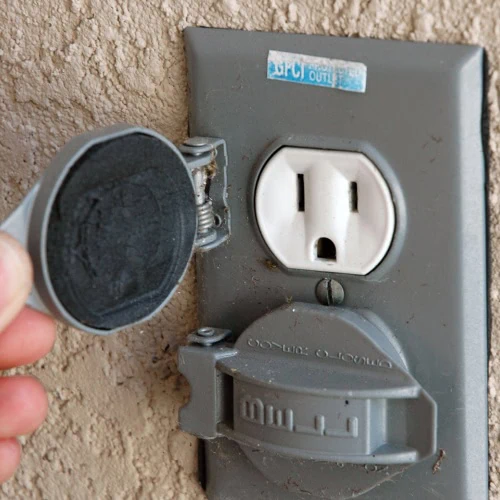
Turn off and unplug your pump and UV clarifier before removing the filter lid or reaching into the housing. Keep your hands dry when handling plugs, and leave electrical connections clear of splashing water.
If you have a pressurized filter, follow its shutdown and pressure-release instructions before loosening the clamp. A stopped pump does not guarantee that the housing has depressurized. Allow the UV unit to cool as directed, and leave the lamp housing closed during routine media cleaning.
Keep a separate pond aerator running during maintenance if you have one. Set your bucket beside the filter so wet media goes straight into it without being dragged across soil or gravel.
Separate Mechanical Media From Biological Media
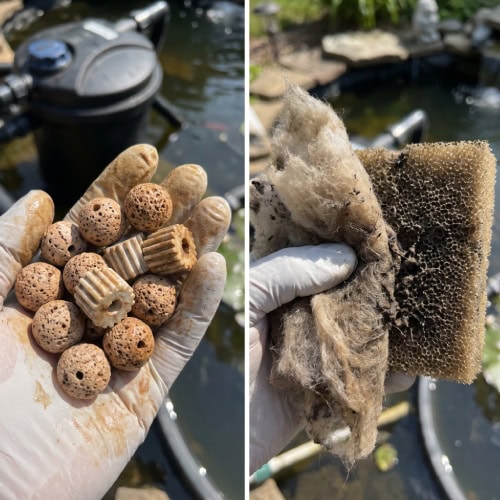
Identify which parts catch debris and which parts provide biological filtration. Your mechanical pads trap solids; biological media supports bacteria that process fish waste. A foam sponge or mat frequently performs both jobs.
Take a photo of the media arrangement before lifting anything out. Keep pads and spacers in order, and place separate biological media in pond water while you clean the mechanical stage.
Treat mixed-purpose foam as bacteria-supporting media. Leave clean biological media undisturbed, and gently rinse it only when accumulated debris restricts flow. Avoid combining routine pad cleaning with a complete replacement of your biological media.
Should You Use Pond Water or Tap Water?
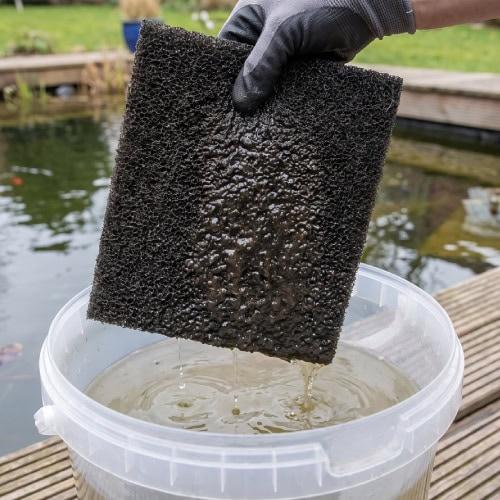
Choose pond water or properly dechlorinated water whenever your pads or sponges contribute to biological filtration (i.e., in the absence of dedicated bio-media). If you are unsure of their role, use the same approach.
Collect pond water before disturbing sludge around the filter. For fresh tap water, use a pond-safe conditioner labeled for chlorine and chloramine, following its dosage and treatment instructions. Match the water temperature reasonably closely to your pond.
Reserve a hose-water rinse for dedicated mechanical media when your equipment instructions permit it. Some skimmer maintenance instructions explicitly allow hose rinsing of the filter mat, which explains why you encounter different advice for different filters.
Keep the rinse gentle even where tap water is permitted. You can handle this task while cleaning your pond without draining it; only the rinse bucket and filter chamber need attention.
Rinse Out Trapped Debris Without Damaging the Media
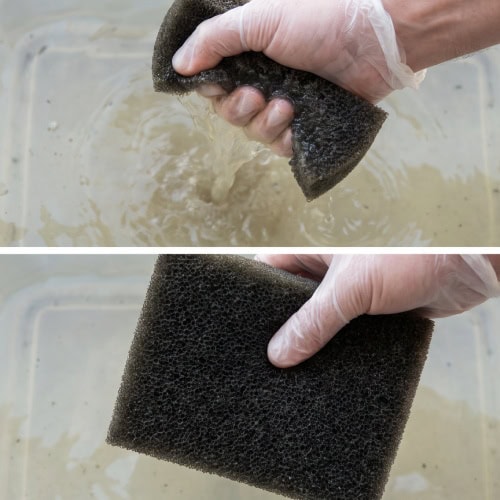
Lift loose leaves and string algae away by hand before rinsing. Handle clogged pads carefully so you avoid tearing them under the weight of trapped sludge.
Use the method that suits your media:
- Flat pads and mats: Support the material with both hands, swish it through the bucket, and gently press water through it.
- Foam sponges: Squeeze and release them underwater. Avoid twisting, wringing, or pulling at the edges.
- Filter brushes: Hold the frame or handle, shake the brushes in water, and loosen tangled debris carefully without bending the wire cores.
- Disposable fine pads: Follow the replacement instructions if the material is designed for single use.
Change your bucket water when it becomes heavily loaded with waste. Stop when loose sludge has cleared and water passes through the media freely; persistent discoloration is acceptable.
Keep soap, bleach, and household cleaners away from your media. Remove settled muck from the filter chamber too, so it does not immediately load your cleaned pads again.
Reassemble the Filter and Check Water Flow
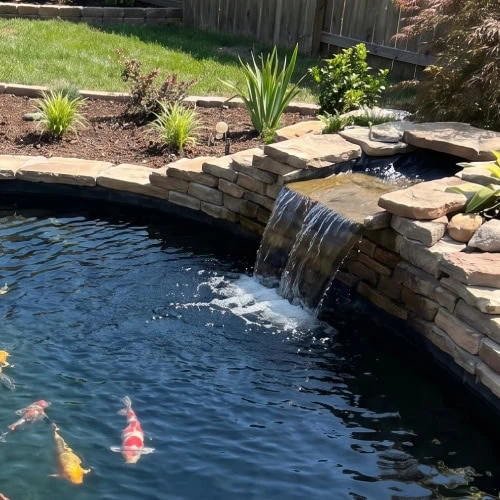
Return each component to its original position, using your photo to check the order. Follow your filter’s specified arrangement, and seat pads fully so water passes through them without slipping around gaps.
Inspect the lid seal and its groove for grit before fastening the housing. Restore valves to their operating positions, confirm adequate pond water, and prime the pump if its instructions require it.
Restart your pump, then check for leaks and unintended overflow. Once the UV housing is full and circulation is established, restore UV power according to its instructions.
Watch the return flow while the system settles. If it remains weak, include the intake and impeller in your pond pump cleaning checks, along with inspecting hoses for kinks or obstructions. Keep the pump switched off whenever you open it.
When Does Mechanical Media Need Cleaning or Replacement?
Clean your mechanical media when debris restricts flow or causes water to bypass it, and replace it when damage prevents a proper fit or effective filtration. Use your filter’s maintenance instructions alongside visible conditions to set the timing.
Which Signs Mean It Is Time to Clean?
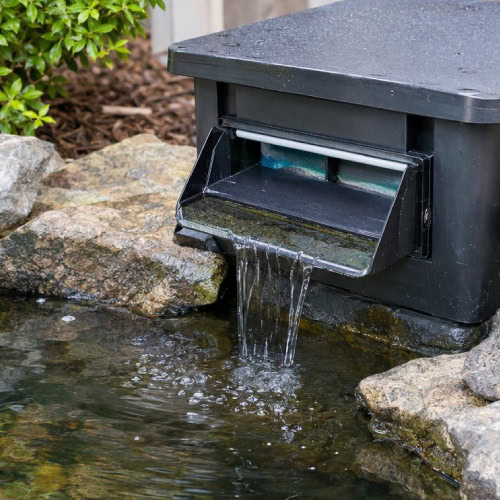
Look for a weaker waterfall or return stream compared with your filter’s normal clean-running flow. Check your pond level and pump intake first, since either problem also reduces circulation.
Inspect your mechanical stage when you notice:
- A dense layer of sludge covering the pad surface.
- Water rising unusually high before a mat.
- Debris-laden water escaping around the media.
- A cleaning indicator reaching the point specified in your manual.
With a skimmer, watch for a falling water level in the pump chamber while pond water remains at its normal level. A clogged basket or mat restricts the incoming supply.
Use these checks as part of deciding when your fish pond needs cleaning. Brown foam with open pores and normal flow needs inspection, but staining alone does not justify another rinse.
How Do Fish Load and Seasonal Debris Affect Cleaning Frequency?
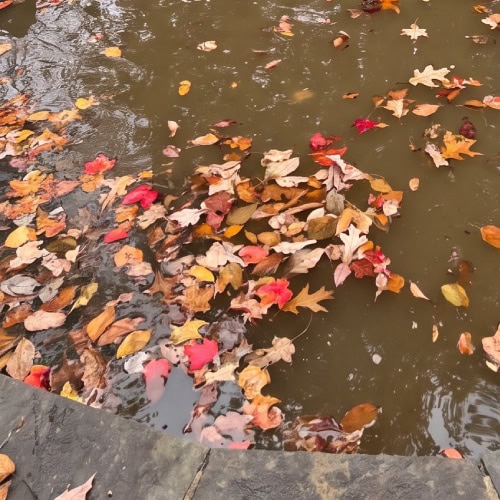
Expect your mechanical stage to fill faster as feeding and the amount of incoming debris increase. More fish produce more waste, while uneaten food adds material for your filter to capture.
During leaf fall, empty your skimmer basket before leaves break down into fragments. In warm weather, include pad inspections in your summer pond maintenance routine, especially during heavy feeding or algae growth. After a storm or nearby yard work, check for a sudden influx of debris.
Keep separate schedules for mechanical prefilters and primarily biological filters. For example, with a properly functioning skimmer or prefilter, your BioFalls mats normally need cleaning only once a year. That equipment-specific interval does not apply to every mechanical pad.
Note how quickly your return flow weakens after cleaning. Use that pattern to time inspections, adjusting when feeding or seasonal conditions change.
When Are Pads and Sponges Too Worn to Reuse?
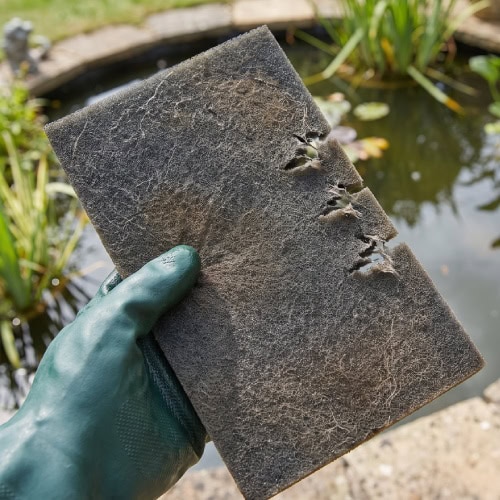
Replace your media when it tears, crumbles, or loses the shape needed to fit its holder. After a gentle rinse, inspect it against the light and press it lightly to check whether it springs back.
Look closely at thinning edges and enlarged holes. Water follows those openings, carrying debris past the filtering surface. Replace brushes when damaged bristles or corroded supports leave substantial gaps.
Choose pond filter media with the dimensions and pore grade specified for your filter. A loosely fitted replacement leaves a bypass route even when the material itself is new.
Follow model-specific replacement guidance where provided. Some pressure-filter foams have a recommended replacement interval at the start of each season; other reusable media remains serviceable until its condition deteriorates.
If your replacement foam also provides biological filtration, retain established biological media elsewhere in the system. Follow any staged-replacement instructions, and check ammonia and nitrite after a substantial media change, particularly in a heavily stocked pond.
Why Does the Filter Keep Clogging?
Trace repeated clogs back to the incoming waste, media arrangement, and filter capacity. A pad that loads up again immediately deserves a check of the whole flow path.
Start upstream. Empty the leaf basket, remove decaying plant material, and reduce feeding if food remains uneaten. These ways to keep your pond filter clean reduce the amount of waste reaching the foam.
Check the media order against your manual. Where your design specifies coarse-to-fine filtration, placing a fine polishing pad first makes it collect debris intended for the coarse stage. Packing extra foam into the housing also restricts water movement.
Compare your filter’s fish-stocked capacity with your pond and feeding load. If the unit is undersized, repeated washing offers only temporary relief. Persistent green water also warrants a separate algae and UV check; extra-fine foam adds maintenance without addressing the conditions supporting algae growth.