
To clean your pond bio-media safely, gently swish it in pond water or properly dechlorinated water, keep it wet throughout maintenance, and promptly restore water flow. Remove loose sludge while leaving the attached bacterial film largely intact.
When you clean your pond filter media, your goal is to restore circulation through the filter. A brown coating alone gives you no reason to strip the media clean, and vigorous washing risks disturbing the bacteria that process your fish’s waste.
Which Cleaning Steps Protect Beneficial Bacteria?
You protect beneficial bacteria by preparing safe rinse water before opening the filter and keeping the cleaning brief and gentle. Work on clogged areas, preserve established media wherever practical, and have everything ready for reassembly.
Prepare Pond Water or Properly Dechlorinated Water
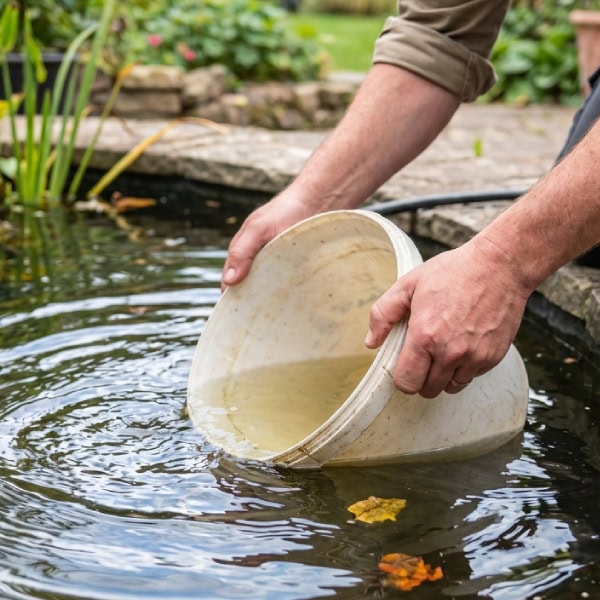
Fill a clean, pond-dedicated bucket with pond water before you disconnect anything. Choose a container free of soap, cleaning chemicals, and garden-product residues, and collect enough water to loosen the accumulated debris.
If you need tap water, treat it with a conditioner labeled for both chlorine and chloramine, following its dosing and contact-time instructions. Your rinse water needs to be close to the pond’s temperature; avoid hot water.
You should not rely on leaving a bucket standing overnight: chloramine does not gas off as readily as chlorine. Treat the water before it touches your media.
A brief accidental tap-water rinse does not automatically mean you have sterilized your filter. If that happens, transfer the media to prepared water, resume filtration, and monitor your pond’s ammonia and nitrite.
Gently Swish Bio-Balls, Ceramic Rings, or Other Media
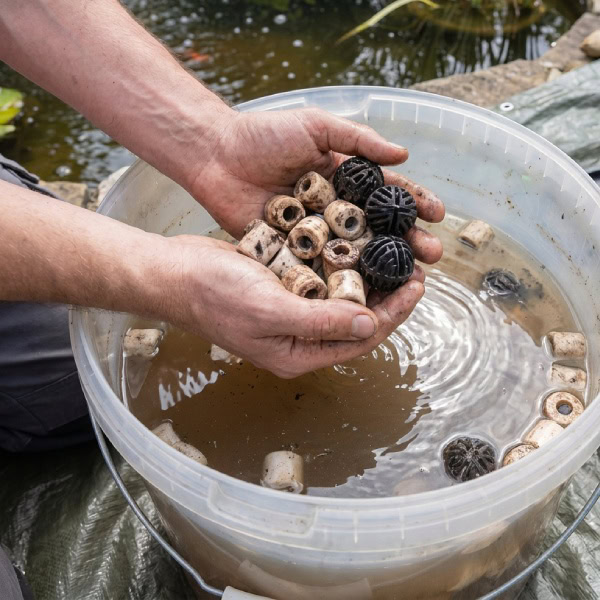
Lift out a manageable portion of your media and lower it into the prepared water. Move it gently through the water or rock its basket to release loose sediment.
With bio-balls, use gentle agitation to free debris caught between the plastic ribs. Handle ceramic rings carefully, particularly if they are brittle, and avoid grinding them together or pushing brushes into every pore.
Stop once you have cleared obstructed spaces and loosened the heavy deposits. You should expect stained surfaces and some attached film to remain. If your rinse water becomes thick with sludge, use another batch of prepared water.
For sealed bead filters or automatic cleaning systems, follow the manufacturer’s prescribed cleaning cycle; opening and hand-rinsing the media may be inappropriate for that design.
Keep Media Wet and Avoid Scrubbing Every Surface
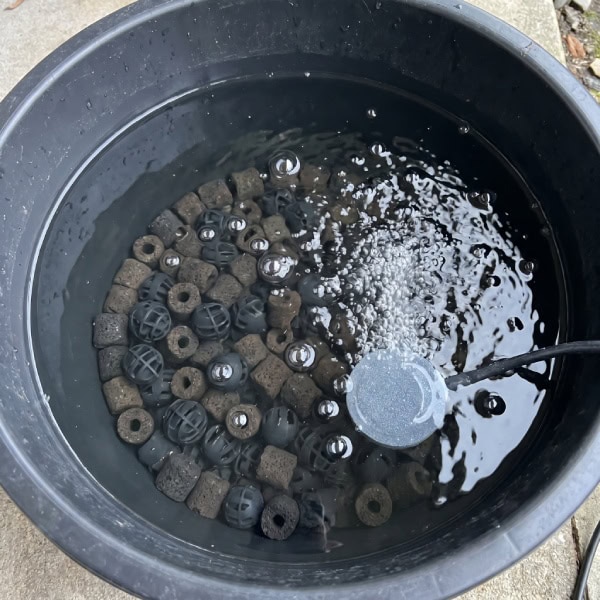
Keep submerged-filter media underwater while you clean the housing or arrange the baskets. Protect it from direct sun and drying wind, and avoid leaving it spread across paving or a towel.
If maintenance becomes prolonged, add aeration to the holding container. Wet media still needs oxygen, especially when warm water and trapped organic waste increase oxygen demand.
To support beneficial pond bacteria, leave lightly soiled media undisturbed wherever your filter design allows. If all the media is clogged, rinse each portion gently enough to restore passage through it.
Keep soap, bleach, and pressure-washer jets away from routine biological-media maintenance. Reserve disinfection for a specific disease-control procedure that includes a plan to reestablish filtration.
When Does Biological Media Actually Need Cleaning?
Your biological media needs cleaning when accumulated debris interferes with water movement through it. Use your filter’s normal flow and the condition of its internal passages to judge maintenance needs.
Distinguish Normal Brown Biofilm From Clogging Sludge
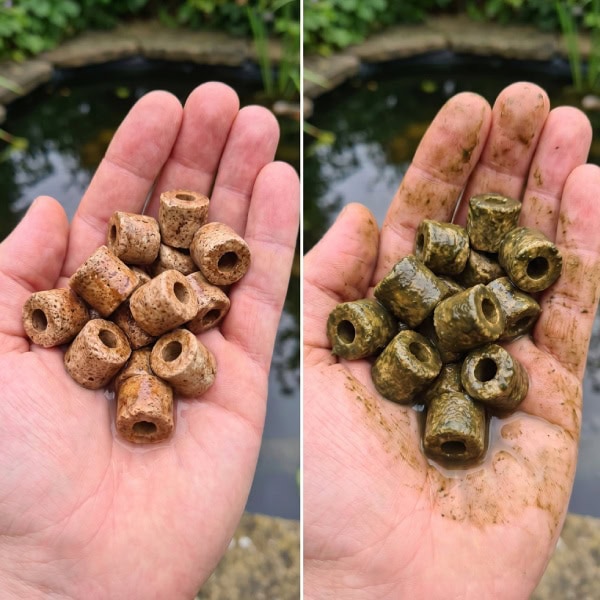
Expect established media to look stained and feel slippery. You cannot identify the usefulness of its microbial community by color alone, so treat brown film as a normal observation alongside flow and water-test results.
Look for thick deposits bridging the spaces between media pieces, packed baskets, or water backing up before the biological chamber. These give you a practical reason to remove loose material.
If you find black deposits with a strong rotten-egg odor, keep that dirty water out of your pond and aerate your media in clean, prepared water during maintenance. Investigate stagnant sections or a prolonged flow interruption before reconnecting the filter.
Avoid judging cleanliness by whether ceramic rings return to their original color. Their staining can remain after you have removed the obstructing waste.
Use Flow and Debris Buildup Rather Than a Fixed Schedule
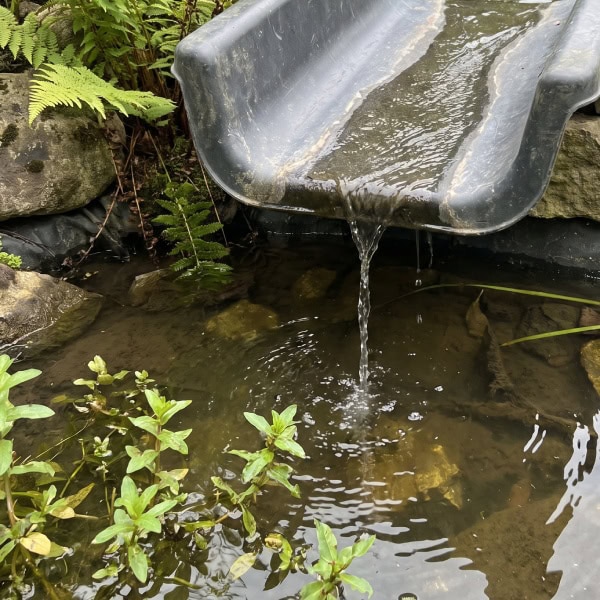
Set your cleaning decisions around changes in your own system. Leaf fall, heavier feeding, and a poorly maintained prefilter increase the amount of debris reaching your biological chamber.
Check accessible restrictions before disturbing the bio-media:
- Clear your skimmer basket and pump intake.
- Inspect mechanical foam or filter pads for blockage.
- Check hoses and outlets for obstructions.
- Examine the biological chamber for packed sediment or uneven water movement.
Compare the return flow with what you see after routine mechanical maintenance. A weak return alone does not identify which component needs attention.
You can also reduce material entering the filter by removing accumulated debris from your pond bottom. Schedule inspections around your pond’s debris load, while letting the condition of the media determine whether it needs rinsing.
Check Ammonia and Nitrite After Maintenance

- Contains one (1) API POND MASTER TEST KIT Pond Water Test Kit 500-Test, including 6 bottles of testing solution, 3 color cards and 4 test...
- Helps monitor water quality and prevent invisible water problems that can be harmful to fish
- Measures ornamental pond pH balance, Ammonia content, Nitrite levels and Phosphate content

Test your pond water before substantial filter maintenance so you have a baseline, then check ammonia and nitrite afterward and during the following days. Give closer attention to testing after a deep clean, an extended shutdown, or replacement of established media.
Your fish remain vulnerable when filtration capacity falls behind their waste production. In an established system, ammonia and nitrite problems arise from imbalances between biofilter capacity, fish load, and feeding.
Aim for no detectable ammonia or nitrite on a suitable pond test kit. If you detect either, reduce or temporarily pause feeding, maintain strong aeration, and use appropriately treated partial water changes to control exposure.
If you have replaced substantial media, manage the pond cautiously while you reestablish biological filtration through cycling. Continue testing until readings remain stable under your normal feeding load.
Reduce Future Clogging With Mechanical Prefiltration
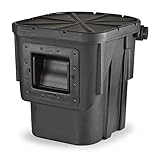
- Skimmers house and protect your pump and plumbing while clearing surface debris from the pond
- Atlantic’s Pond Skimmers feature more size and filtration options and greater strength and versatility
- All Skimmers excluding the PS3000 accept two pumps for increased flow, lower operating costs and multiple spillway options
Catch solids before they reach your biological media by maintaining your skimmer, settlement area, or mechanical filter stage. With less debris entering the biological chamber, you reduce the need to handle its established surfaces.
Build your filter-cleaning routine around the components that collect waste first. Remove captured leaves and sludge before they break down or restrict circulation.
Remember that your mechanical foams also support beneficial bacteria. In a small combined filter, preserve some established foam when cleaning other biological surfaces, and stagger replacements where the design permits.
After prefilter maintenance, check that water spreads evenly through the biological chamber. Correct bypass gaps, compacted pads, or overloaded baskets before they force water around the media.